You can identify fonts in an image via Photoshop or online tools
There are several times when you will find a random image somewhere that has some text on it, but not be sure which font was used on the photo. Identifying fonts on an image is an incredibly useful trick that everyone should know. This has a lot of uses such as allowing you to find and download a font that you absolutely love, which was used in a picture. Alternatively, you may have found a meme online and want to make one of your own with a similar font. From designers to memers, everyone will find it useful to identify fonts on images. Luckily it’s not that hard to do this.
How to identify fonts in an image
Follow these steps to identify fonts on any image.
-
Download the photo or copy the URL where the photo is hosted.
-
Click Upload image if you have the photo on your computer. If not, click an image URL and paste the URL.
-
Now crop the image to highlight the text on the image. Essentially just drag the blue borders so that the box covers just the text on the image.
-
Now click Matcherate It.
-
You will see a bunch of options below the image. You can select the correct font and either download or purchase it from the websites mentioned there. Select Font Squirrel below the image to see only free fonts.
How to identify fonts in an image using Photoshop
Adobe Photoshop has a neat tool that lets you identify fonts in an image. Follow these steps.
- Download the image where you’ve seen the font you want to identify.
- Open Adobe Photoshop on your computer and open the image using the app.
- Use the Rectangular marquee tool (you can access this by pressing M) and draw a rectangle around the font you want to identify.
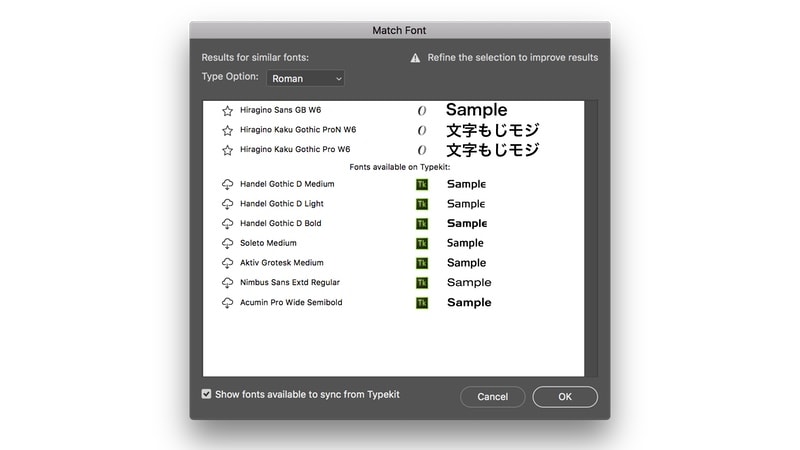
- Now from the toolbar select Type > Match Font.
- You can now either pick from the fonts already installed on your computer or download matching ones from the Web.

For more tutorials visit our How To section.
